Getting Started#
This tutorial walks you through installing memeplotlib and creating your first memes.
Installation#
Install memeplotlib from PyPI:
pip install memeplotlib
To build the documentation locally, also install Sphinx and its dependencies:
pip install memeplotlib[docs]
Your First Meme#
The simplest way to create a meme is with the meme()
function:
import memeplotlib as memes

memes.meme("buzz", "memes", "memes everywhere")

This fetches the “Buzz Lightyear” template from the memegen API, renders “MEMES” at the top and
“MEMES EVERYWHERE” at the bottom, and displays the result with
matplotlib.pyplot.show().
The first positional argument is the template identifier, and subsequent positional arguments are text lines placed at the template’s text positions (typically top and bottom).
Saving to a File#
Pass savefig to write the meme to disk. Set show=False if you do not
want an interactive window:
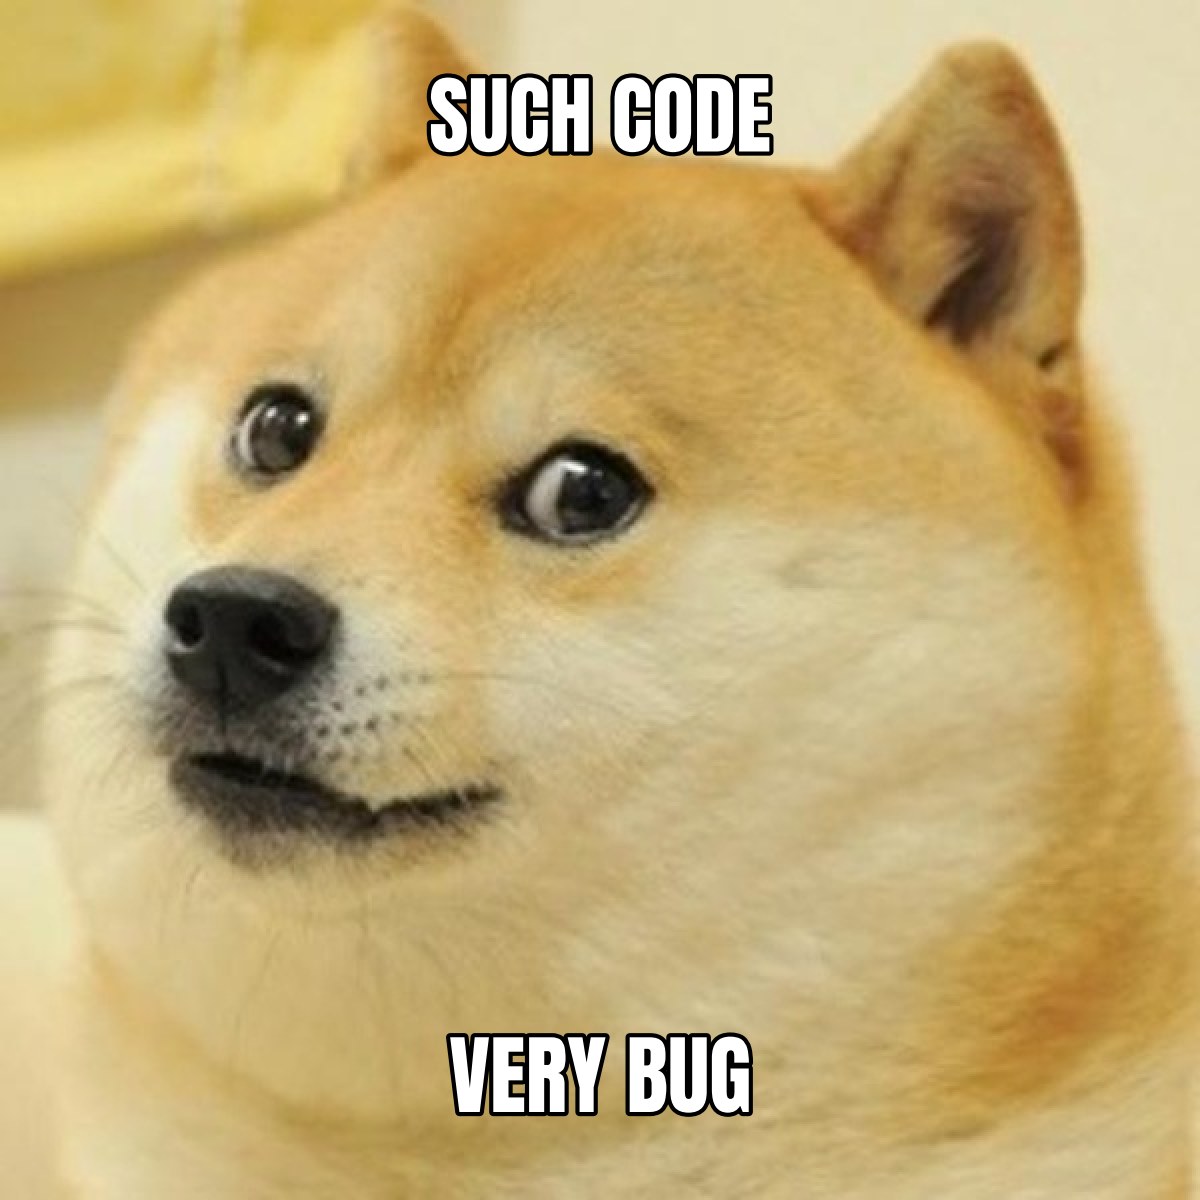
memes.meme("doge", "such code", "very bug",
           savefig="meme.png", show=False)
The output file format is determined by the file extension (PNG, JPEG, PDF, SVG, etc.), following matplotlib’s conventions.
Customizing Text#
Control font, color, and style:
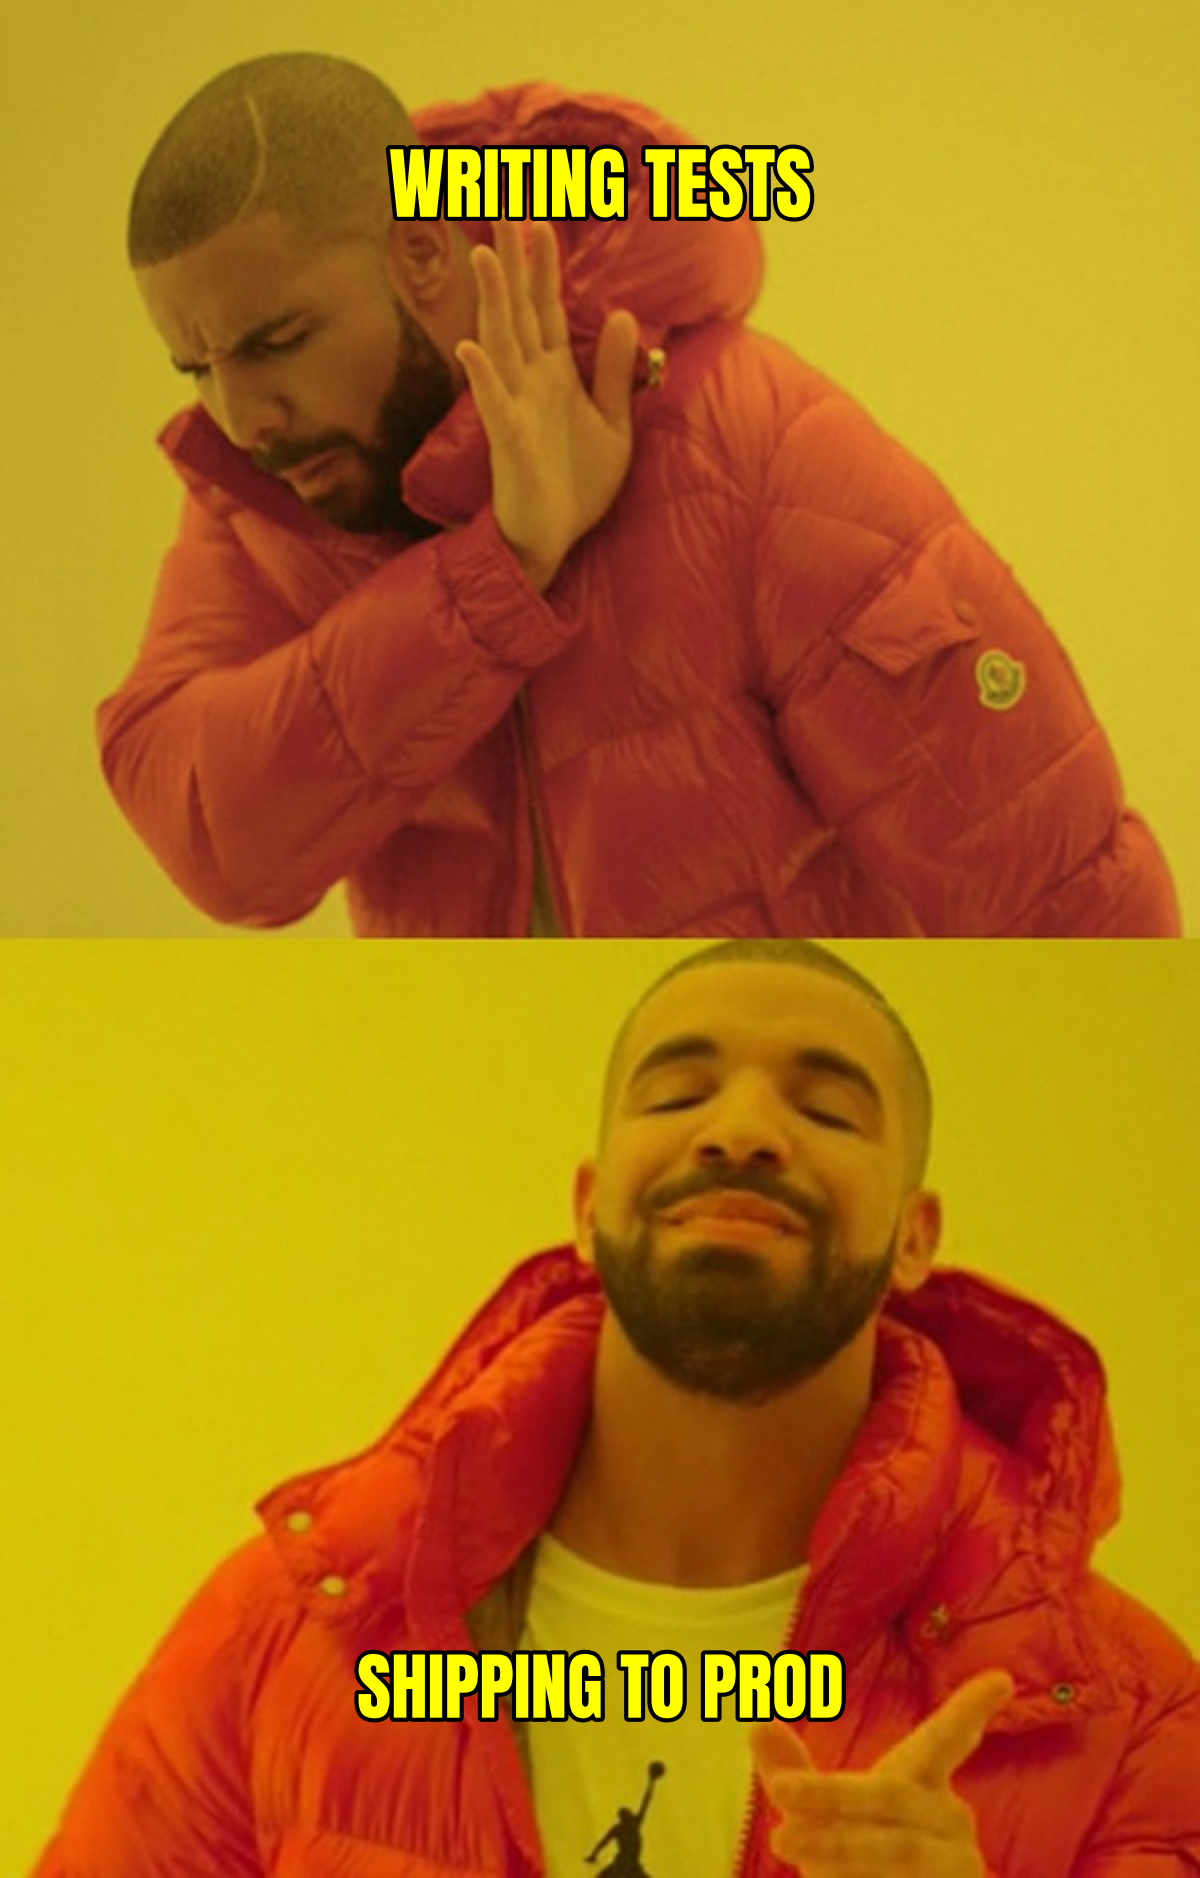
memes.meme("drake", "writing tests", "shipping to prod",
           font="impact", color="yellow", style="upper")
Available style values:
"upper"(default) – converts text to UPPERCASE."lower"– converts text to lowercase."none"– preserves original casing.
Available font shortcuts: "impact", "arial", "comic",
"times", "courier". You can also pass any font family name installed
on your system.
Font Size#
Use fontsize to set the text size in points. When omitted, font size is
auto-calculated from the default base size (config["fontsize"], 72 pt):
memes.meme("buzz", "big text", fontsize=120)
You can also change the default base size globally:
memes.config["fontsize"] = 120
Controlling Outline#
The classic meme look uses white text with a black outline. You can customize both:
memes.meme("buzz", "white on black", "the classic",
           color="white", outline_color="black", outline_width=3.0,
           show=False)

Using Local Images#
You can pass a file path instead of a memegen template ID:
memes.meme("/path/to/image.jpg", "top text", "bottom text")
HTTP/HTTPS URLs also work:
memes.meme("https://example.com/image.png", "hello", "world")
Getting the Figure Back#
meme() returns a (Figure, Axes) tuple, so you can
continue to modify the plot before saving or showing:
fig, ax = memes.meme("buzz", "memes", "memes everywhere", show=False)
fig.savefig("custom_meme.png", dpi=300)

Next Steps#
See the User Guide for the object-oriented API, memify workflow, global configuration, and template discovery.
See the API Reference for the complete API reference.
Browse the Gallery of Examples for runnable examples with output.